React Suspense panel
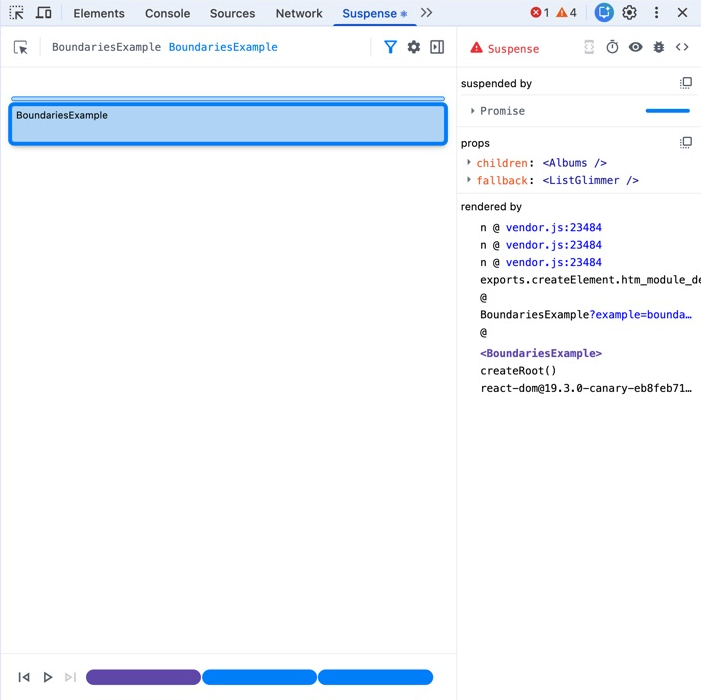
The Suspense panel in React Developer Tools lets you inspect <Suspense> boundaries, find what caused them to suspend, and preview the order in which they reveal their content.
Usage
To open the Suspense panel:
- Install React Developer Tools 8.0 or later for Chrome, or update an existing installation. See the browser extension installation instructions.
- Open a page built with React.
- Open the browser developer tools and select Suspense.
If the panel does not appear, reload the page with the browser developer tools open.
The examples on this page run inside embedded frames. The screenshots show how each example appears in the Suspense panel. To inspect an example interactively, fork it and open its preview as a separate page. The examples use small Promise caches to demonstrate suspension. In an app, use a Suspense-enabled framework or data source.
Panel features
Navigating the panel
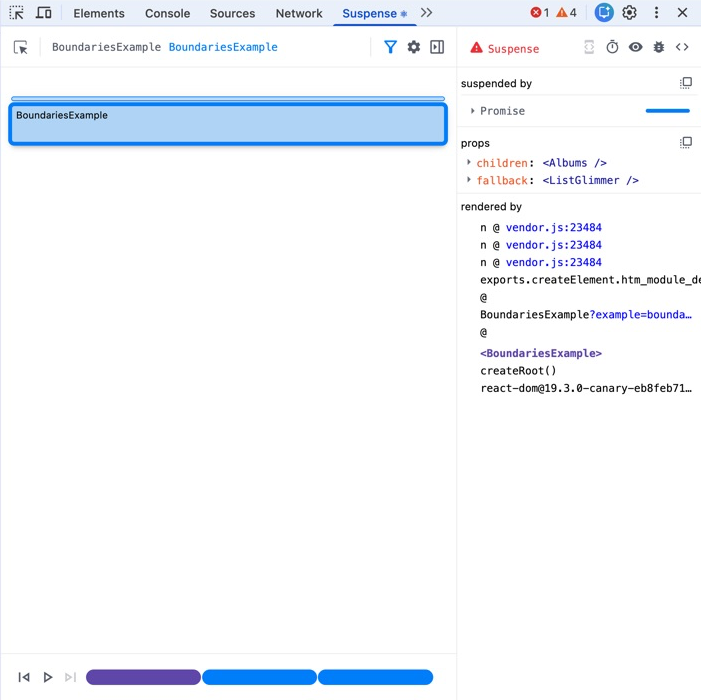
The panel has a minimap and reveal timeline on the left and an inspector on the right. Drag the divider to resize them. You can also hide the inspector from the toolbar. DevTools remembers the layout between sessions.
The toolbar also includes controls for selecting a Suspense boundary from the page, navigating through nested boundaries, filtering the minimap, and opening the React Developer Tools settings.
Inspecting Suspense boundaries
The main view is a minimap of the Suspense boundaries on the page. Each outlined region represents the content inside a boundary and matches its position on the page. Blue boundaries rendered on the client, green boundaries rendered on the server, and yellow boundaries rendered in another named environment.
This example contains an outer boundary for the artist details and a nested boundary for the albums:
import { Suspense, use } from 'react';
import { fetchData } from './data.js';

export default function App() {
  return (
    <main>
      <h1>The Beatles</h1>
      <Suspense fallback={<h2>Loading artist...</h2>}>
        <Biography />
        <Suspense fallback={<AlbumsGlimmer />}>
          <Albums />
        </Suspense>
      </Suspense>
    </main>
  );
}

function Biography() {
  const biography = use(fetchData('/biography'));
  return <p className="bio">{biography}</p>;
}

function Albums() {
  const albums = use(fetchData('/albums'));
  return (
    <section className="panel">
      <h2>Albums</h2>
      <ul>
        {albums.map(album => (
          <li key={album.id}>{album.title}</li>
        ))}
      </ul>
    </section>
  );
}

function AlbumsGlimmer() {
  return (
    <div className="glimmer-panel">
      <div className="glimmer-line" />
      <div className="glimmer-line" />
      <div className="glimmer-line" />
    </div>
  );
}
Hover over a region in the minimap to highlight its content on the page. Select a region to inspect that boundary. Double-click it to alternate between the timeline steps immediately before and after React revealed its content. Select the minimap background to inspect the root, or double-click it to return to the initial paint. For nested boundaries, use the breadcrumbs above the minimap to move through their hierarchy.
You can also select Inspect Suspense Nodes in the toolbar, and then select content on the page. DevTools selects the nearest Suspense boundary.
Finding what caused a boundary to suspend
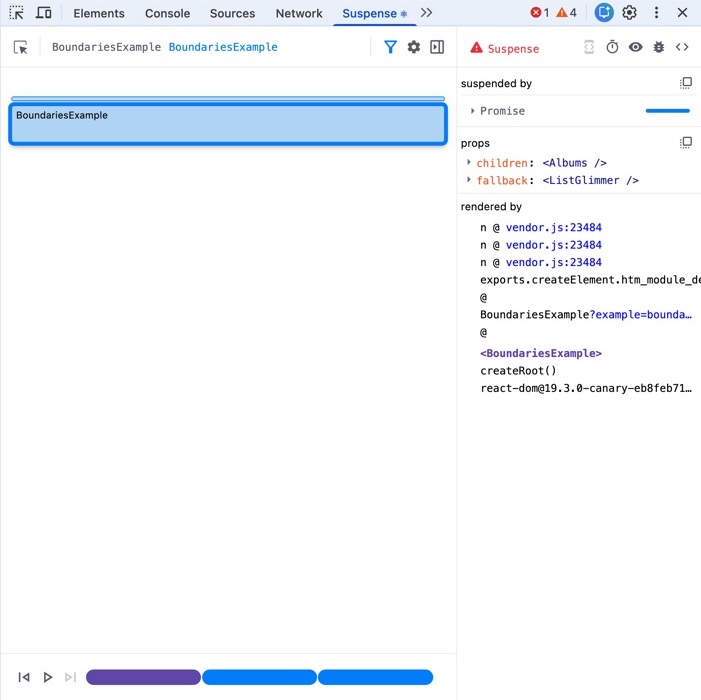
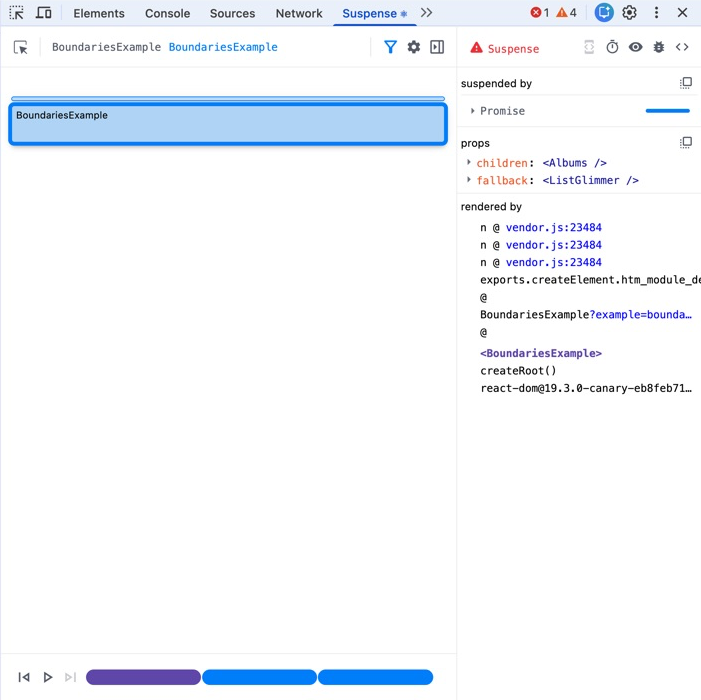
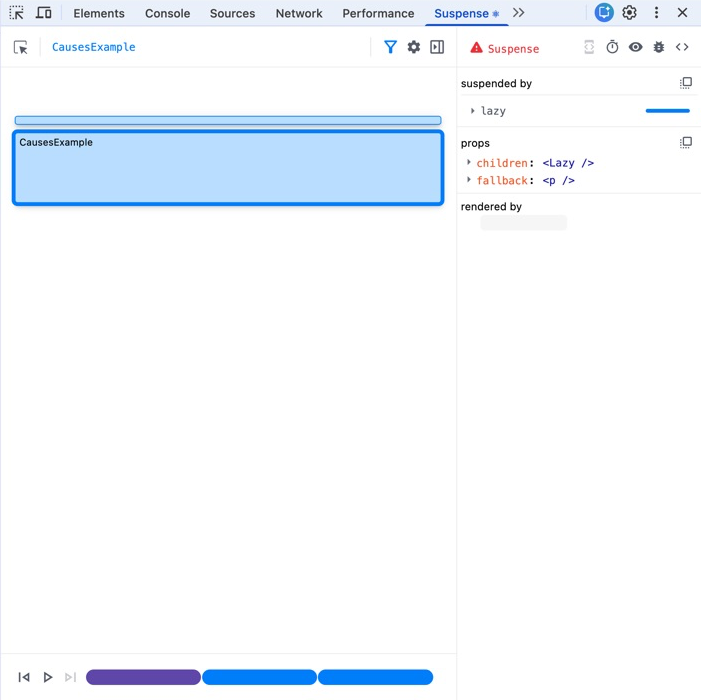
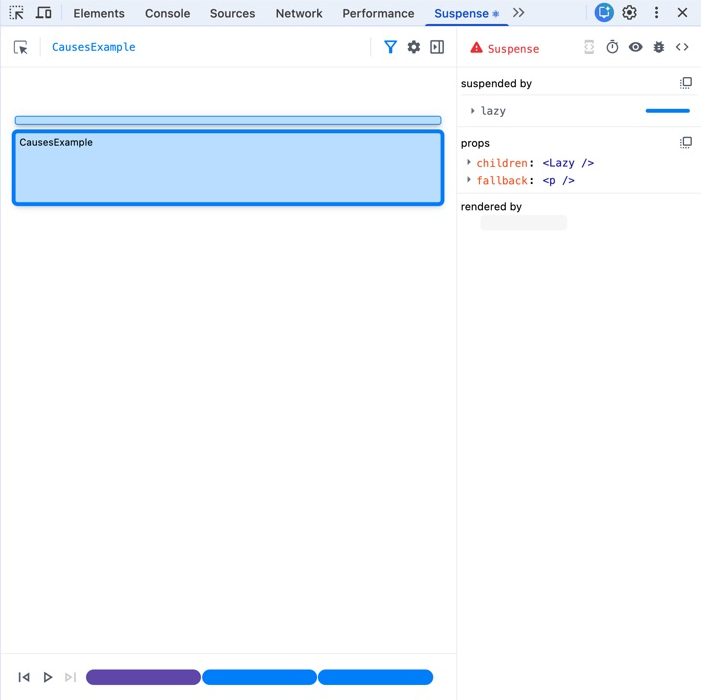
After you select a boundary, the inspector shows whether it is suspended and which Components rendered the boundary. The Suspended by section lists the work that caused it to suspend.
In this example, one boundary waits for a Promise read with use, while another waits for a Component loaded with lazy:
import { lazy, Suspense, use } from 'react';
import { fetchBiography } from './data.js';

const Albums = lazy(async () => {
  await new Promise(resolve => {
    setTimeout(resolve, 1800);
  });
  return import('./Albums.js');
});

export default function App() {
  return (
    <main>
      <h1>The Beatles</h1>
      <Suspense fallback={<p>Loading biography...</p>}>
        <Biography />
      </Suspense>
      <Suspense fallback={<p>Loading albums...</p>}>
        <Albums />
      </Suspense>
    </main>
  );
}

function Biography() {
  const biography = use(fetchBiography());
  return <p>{biography}</p>;
}
With a development build of React 19.2 or later, DevTools can show causes such as lazy, Promises read with use, and resources including stylesheets, fonts, and images. Each cause includes a time bar. Hover over it to see how long the work took and, for a resource, its size. Expand a cause to inspect where the work started and where React awaited it, the Components involved, and the resolved or rejected value. Consecutive causes with the same name are grouped together.
While a boundary is still waiting, the inspector displays suspended… until the cause finishes loading. If React could not retain the information needed to identify a cause, the inspector explains whether this is because of the React version, a production build, or a Promise thrown without use.
Select the clipboard button in the Suspended by heading to copy all suspension data.
Previewing a fallback
You can force a resolved Suspense boundary to display its fallback. This lets you inspect a loading state without changing the app’s data or adding temporary code.
After the profile in this example finishes loading, select its boundary in the minimap. Select Suspend the selected component in the inspector to replace the profile with its fallback. Select Unsuspend the selected component to reveal the content again.
import { Suspense, use } from 'react';
import { getProfile } from './data.js';

export default function App() {
  return (
    <Suspense fallback={<ProfileGlimmer />}>
      <Profile />
    </Suspense>
  );
}

function Profile() {
  const profile = use(getProfile());
  return (
    <section className="profile">
      <img src={profile.avatar} alt="" />
      <div>
        <h2>{profile.name}</h2>
        <p>{profile.bio}</p>
      </div>
    </section>
  );
}

function ProfileGlimmer() {
  return (
    <section className="profile glimmer">
      <div className="avatar" />
      <div>
        <div className="line title" />
        <div className="line" />
        <div className="line short" />
      </div>
    </section>
  );
}
The suspend control is disabled while the boundary is waiting for its content to load.


Replaying the reveal sequence
The timeline starts with the initial paint and adds a step when a Suspense boundary reveals its content. This example reveals the biography first, followed by the albums and related artists:
import { Suspense, use } from 'react';
import { fetchData } from './data.js';

export default function App() {
  return (
    <main>
      <h1>The Beatles</h1>
      <Suspense fallback={<p>Loading biography...</p>}>
        <Biography />
      </Suspense>
      <Suspense fallback={<ListGlimmer />}>
        <Albums />
      </Suspense>
      <Suspense fallback={<ListGlimmer />}>
        <RelatedArtists />
      </Suspense>
    </main>
  );
}

function Biography() {
  const biography = use(fetchData('/biography'));
  return <p className="bio">{biography}</p>;
}

function Albums() {
  const albums = use(fetchData('/albums'));
  return <ItemList title="Albums" items={albums} />;
}

function RelatedArtists() {
  const artists = use(fetchData('/related-artists'));
  return <ItemList title="Related artists" items={artists} />;
}

function ItemList({ title, items }) {
  return (
    <section className="panel">
      <h2>{title}</h2>
      <ul>
        {items.map(item => <li key={item}>{item}</li>)}
      </ul>
    </section>
  );
}

function ListGlimmer() {
  return (
    <div className="glimmer-panel">
      <div className="glimmer-line" />
      <div className="glimmer-line" />
    </div>
  );
}
Use the previous and next buttons, select a timeline marker, or drag the timeline to move between steps. Select Play to advance through the steps automatically. The panel updates the inspected page to show the fallbacks and content that were visible at each step. Boundary reveals also replay their View Transitions.
The distance between steps represents their reveal order, not elapsed time. To inspect how long work took, select a boundary and inspect the time bars in Suspended by.


Showing all boundaries
By default, the Unique Suspenders filter shows only boundaries with their own suspension causes. It hides boundaries that never suspended and boundaries that waited for exactly the same work as their parent.
The boundary around the heading in this example never suspends. Turn off Unique Suspenders to include it in the minimap:
import { Suspense, use } from 'react';
import { getAlbums } from './data.js';

export default function App() {
  return (
    <main>
      <Suspense fallback={<h1>Loading title...</h1>}>
        <h1>The Beatles</h1>
      </Suspense>
      <Suspense fallback={<p>Loading albums...</p>}>
        <Albums />
      </Suspense>
    </main>
  );
}

function Albums() {
  const albums = use(getAlbums());
  return (
    <ul>
      {albums.map(album => <li key={album}>{album}</li>)}
    </ul>
  );
}


Troubleshooting
I don’t see the Suspense panel
Update the React Developer Tools extension for Chrome to version 8.0 or later. In the React Developer Tools settings, check that Hide Suspense tab is turned off.
After updating the extension or changing this setting, close and reopen the browser developer tools.
I don’t see any Suspense boundaries
The panel only shows boundaries rendered with <Suspense>. If the panel says that the root contains no Suspense nodes, check that the inspected page has rendered a boundary.
If the page contains a boundary but it does not appear, turn off Unique Suspenders.
I can’t see what caused a boundary to suspend
Use a development build of React 19.2 or later to see complete information about suspension causes. Production builds and older versions of React may not retain all the debugging information that the panel needs.
If the inspector says that something threw a Promise, DevTools cannot identify the cause as precisely. If you control the data source, provide the Promise to use instead of throwing it directly.